Creative instruction. Basic Art Programs with a Go-Green aesthetic. Where freedom of creativity and learning come together.
Thursday, June 25, 2020
Monday, June 15, 2020
Sunday, June 14, 2020
Tuesday, April 28, 2020
Activity: PAPER SCULPTURE
PAPER SCULPTURE
Remote Learning with ArtinaBoxCo.
FOCUS: Creating Dimension with Folding & Cut
How is paper made?
https://youtu.be/7IP0Ch1Va44
What are Dimensions?
1D: being flat without dimension.....
ex: a line...flat piece of paper
2D: a shape, having length and width
3D: an object having width height & length
TODAY'S TOOLS
2 pieces of Paper
1 solid color (heavier/weighted paper)
1 with an interesting design
Scissors
Glue
What to Do?
FIG 1. fold right and left edges of paper until they meet each other in the center.
FIG 2. Fold the entire paper in half.
(Hamburger style not Hot Dog)
FIG 3. After the first 2 steps your paper should resemble FIG 3.
FIG. 4 Using your scissors, with the paper still folded in half, cut two lines across the fold.
FIG 5. Open up the folded paper and push the cut shapes backward on your paper.
* Use the glue to attach your finished sculpture to your 2nd paper(with design)
At this point you can add additional cuts to your sculpture making it uniquely your own.
Keep Learning Keep having Fun
Keep CREATING.
Wednesday, April 22, 2020
Activity: STARBURSTS
STARBURSTS
Remote Learning with ArtinaBoxCo.
FOCUS: Scrap Paper Craft
What is a Starburst?
No, not a candy......
a pattern of lines or rays radiating
from a central point or source.
Def. of Crafting:
the activity or hobby of making decorative articles
by hand.
TOOLS for TODAY
Scissors, Glue, box cutter/straight edge,
5 square shaped Papers
(Use any colorful, textured, newspaper,
tissue paper, or the like)
Using a cylinder shaped object, draw a circle in the center of your 1st square.
Cut out the Circle on the drawn line.
Apply a line of glue around the entire square. Glue your choice of paper to the back of cut out circle.
Using the box cutter or straight edge
(Ask for assistance if you are under age)
Cut diagonally around the circle.
Apply glue around the edge of the circle.
Fold back the cut pieces and press into the applied glue, Moving around the circle.
Repeat #s 3,4,& 5 with other paper choices.
Trim the edges all the way around
the finished piece.
Apply glue in a "U" shape
on the last square shaped paer
Square shaped textured Starburst.
*you can slip a small pic inside the created pocket.
Monday, April 20, 2020
Activity: STRINGS
STRING ART
Remote Learning with ArtinaBoxCo.
Abstract Line
What is ABSTRACT?
existing in thought or as an idea but not having a physical or concrete existence.
* For our creative process here, basically,
how you see something
Our piece will become a representation.
def: LINE
1. a long, narrow mark or band.
2. a length of cord, rope, wire, or other material serving a particular purpose.
Today's Tools
Glue, Pencil, String, Cardboard/Paper
*remember, you can always improvise on your materials. Swap out cardboard for paper, pencil for marker, etc.
Draw out your image and where you'd like your string to go.
Trace your image with your glue.
Place your string into the glue on
your traced image.
This will get a little messy and sticky.
No worries the glue will dry.
This is where you can be CREATIVE.
Use different colored strings, threads, etc to fill in your image.
You can use paint to fill in, embellishments to add personality and character to your piece.
Be INDIVIDUAL.
Used a filter on this image....EXPERIMENT.
What Space looks like.....?!?!?
Share your Master Pieces.
Keep Learning, Keep having Fun,
Keep CREATING!
Wednesday, April 15, 2020
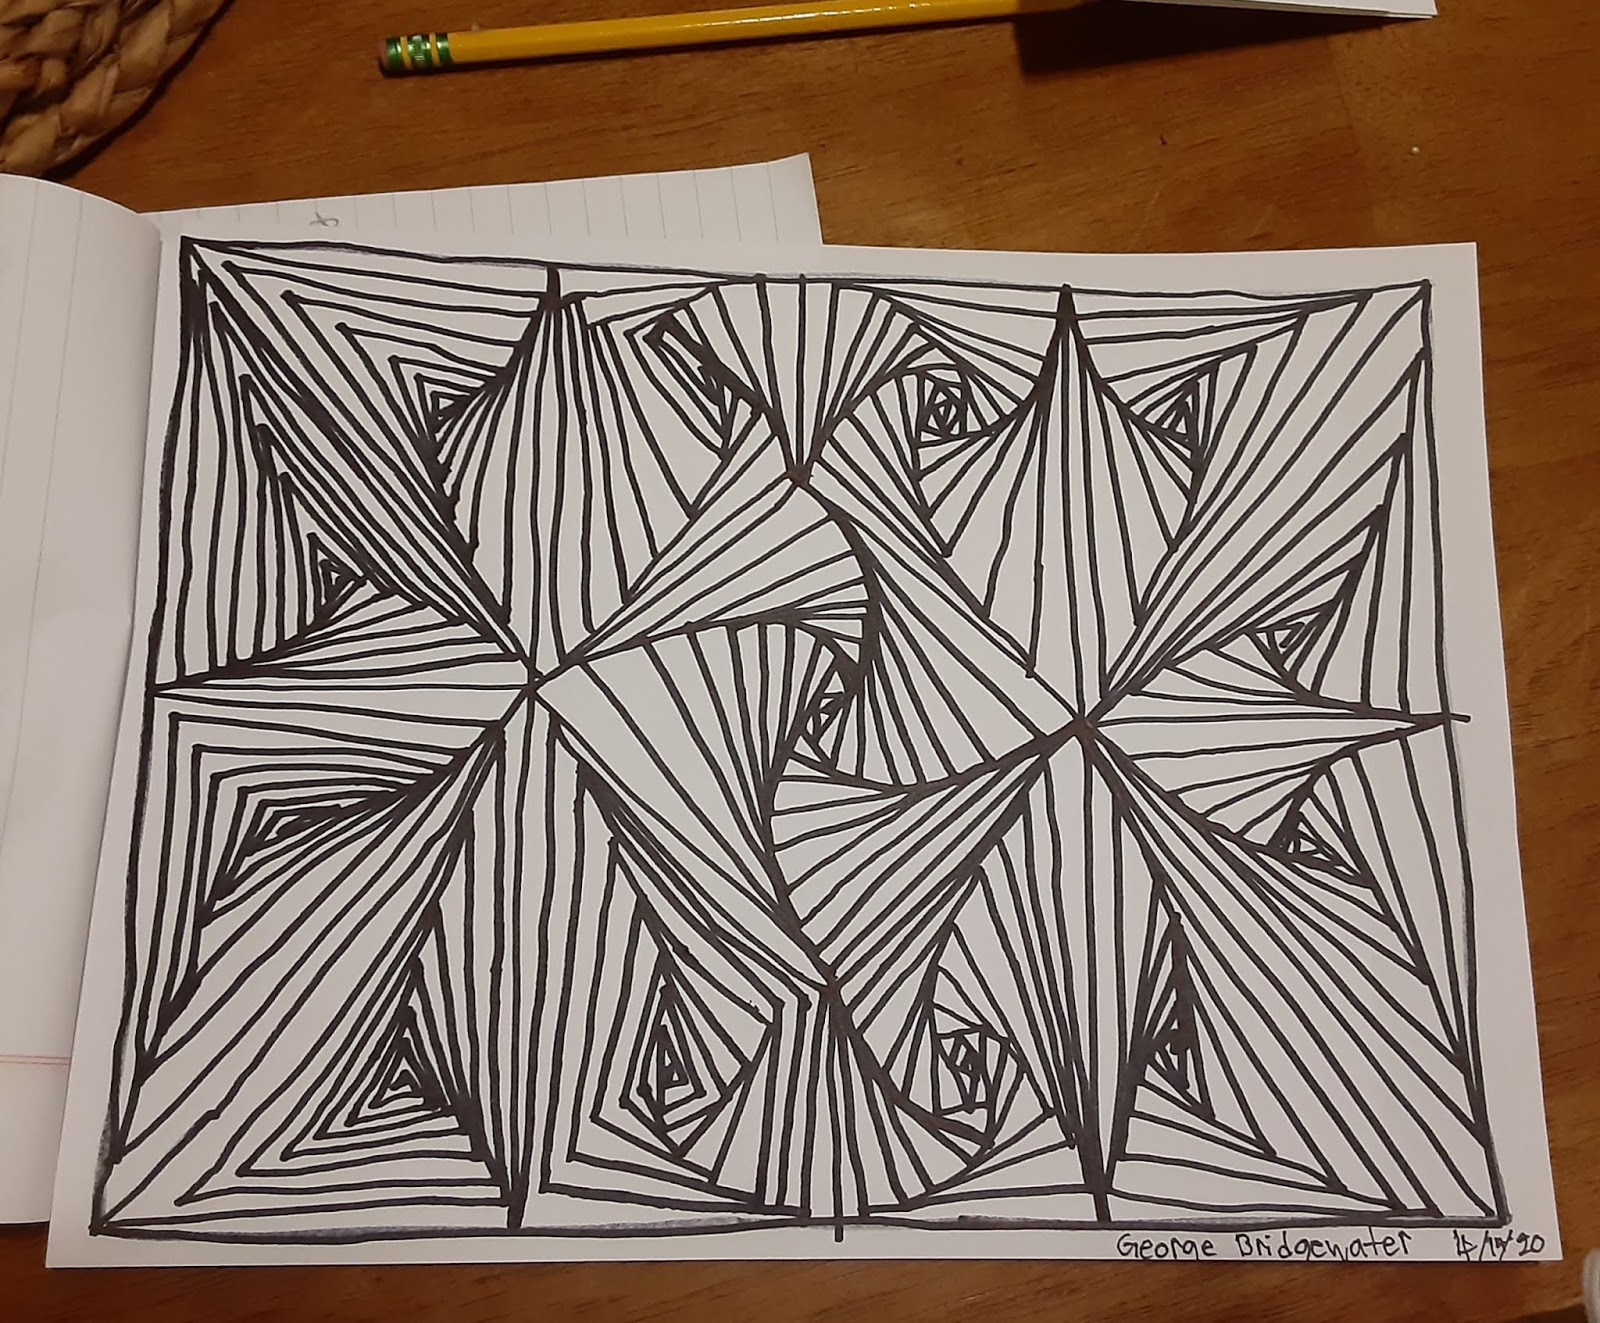
Activity: OPTICAL ILLUSION
OPTICAL ILLUSION
Remote Learning with ArtinaBoxCo.
FOCUS: Line Drawing
def:Optical Illusion: an impression caused by the visual system and characterized by a visual perception that arguably appears to differ from reality.
basically....things aren't always what they appear to be.
TOOLS:
Paper and a drawing pencil/marker, crayon...
whatever you have :)
1. Draw a box around your paper.
2. Starting mid way at the edge of your box, Draw one line horizontally and one
vertically, each running o the opposite end. of the page.
3. Within each of the 4 boxes draw mid lines
as you see in photo.
4. Starting a little off from the corner, minnick the main shape
5. Draw a line from the start to the adjacent edge. And continue until the space is filled.
*the shape will get smaller as you go.
6. Continue same technique as you
move box to box.
12yr old student finished work.
This is an easy drawing
though it my appear difficult.
Goto: https://youtu.be/k3wz1Y-3M_s
If you need to watch it in motion.
Keep learning, Keep having Fun, and
Keep Creating.
Monday, April 13, 2020
Activity: CELL PHONE PHOTOS
Cell Phone PHOTOS
Remote Learning with ArtinaBoxCo
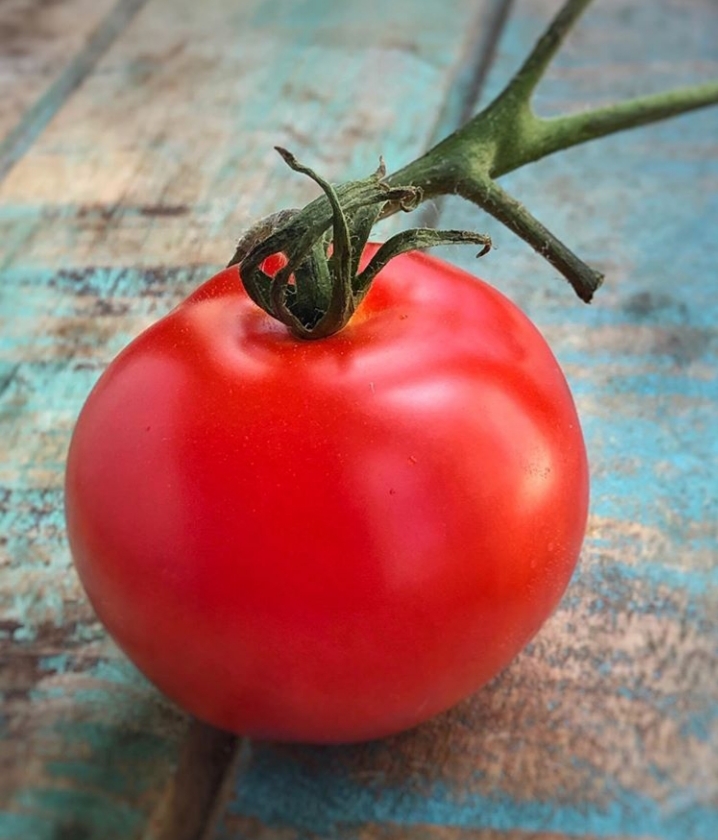
Today we want to explore simple Photography with your cell phone.
There are different facets & categories of Photography.
These four are just a few that you can explore.
BE BOLD.
Just START taking pictures.
Use different, angles and perspectives,
move around.
Angles: move the camera around a subject
Perspectives: Above - Birds Eye view
Close Up
Worms Eye view
Distance
Using the same pencil (subject) from different perspectives.
With your cell phone, make use of your toolbar to explore manipulating the shots
Color, Zoom, Crop, Filter and Layering.
Color Scale.....Exposure
Saturation
Filters
Below are a few guidelines
on getting started with Photography.
www.adorama.com
As with all creativity it is personal......what moves you, what you find interesting, what feels right to you.
Keep Learning, Keep having Fun, Keep being Creative.
Share your work.
Subscribe to:
Posts (Atom)